Upgraded 14L 2-in-1 Cordless Electric Milking Machine
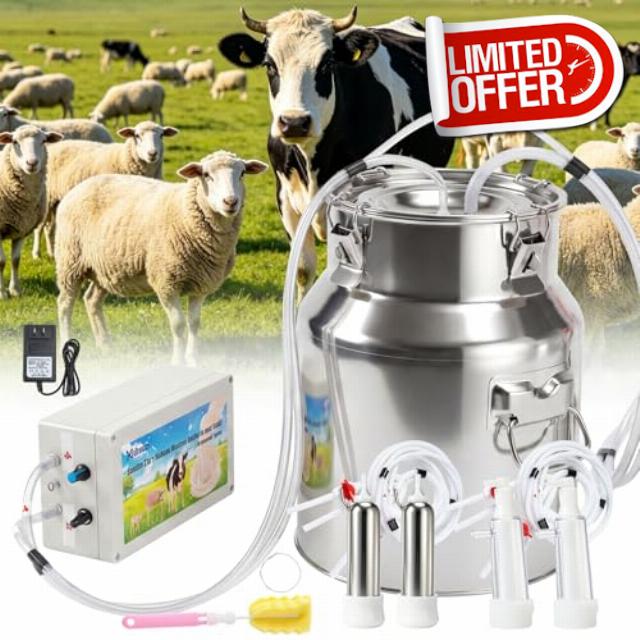
Upgraded 14L 2-in-1 Cordless Electric Milking Machine for Goats, Cows & Sheep, 304 Food-Grade Stainless Steel Bucket, Adjustable Suction Pulsation Vacuum Pump Milker with 4 Teat Cups, Portable Milke
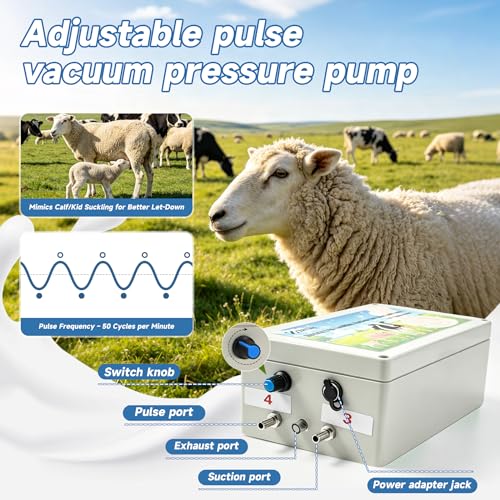
- 【Elecctric milking machine 14L】Holds 14L – much larger than standard 5L/7L units. Milk multiple animals without stopping to empty the bucket. 32–42 pulsations/min, faster than manual milking. The hose uses digital coding for quick setup.
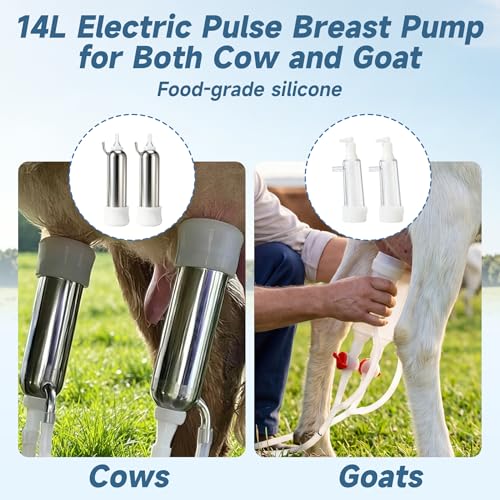
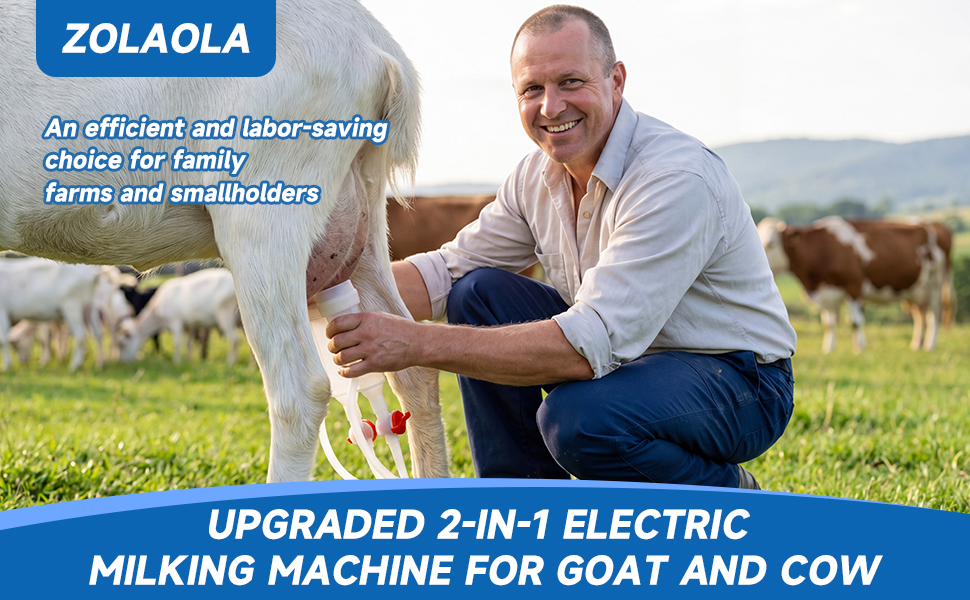
- 【Milking Machine for Cows and Goats】This 14L 2-in-1 electric milking machine includes separate teat cup sets for cows and goats, each with pre-matched hoses and liners. Swap in seconds. The pulsation system adapts naturally to different milking rhythms. Helps you avoid buying two separate milkers. Saves space and money on your small farm.
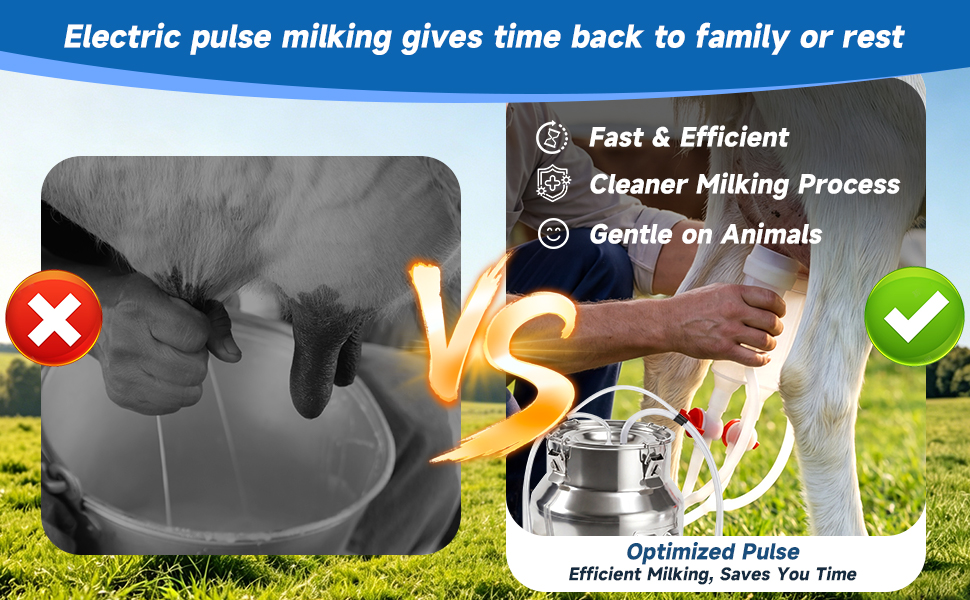
- 【Gentle Pulse – Comfortable Milking】The cow milking machine portable has adjustable pulsation mimics natural sucking of a calf or kid – not harsh constant vacuum. Liner gently massages teats once per second to help maintain teat comfort during milking. Adjustable suction knob lets you dial in the right suction for goats or cows – gentle for sensitive goats, stronger for high-producing cows.
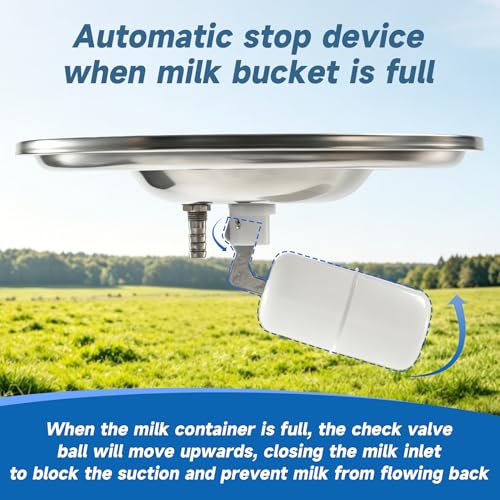
- 【Spill Protection—Auto-Stop at Full Capacity】 The 14L goat milking machine‘s bucket is equipped with a built-in check valve that automatically shuts off the pump when the bucket reaches full capacity—helping to prevent milk from backing up into the vacuum pump. Each hose also has its own on/off valve, so you can pause an individual teat cup without stopping the whole machine.
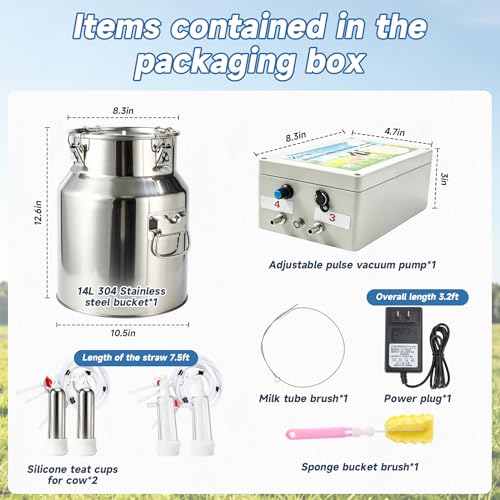
- 【Food-Grade + Cleaning Kit Included】 The goat milker with a heavy-duty 14L bucket is made of 304 stainless steel—rust-proof, corrosion-resistant, and built for daily farm use. All milk-contact parts (hoses, liners) are food-grade silicone: BPA-free, odorless, and smooth inside to help resist residue buildup. Your package includes a stainless steel funnel and two cleaning brushes (one for tubes, one for general scrubbing). The sealed lid helps keep milk protected, ready for storage or sale right from the bucket.
How the Milker Works (Pressure Principle)
When the electric vacuum pump activates, it pulls air out of the stainless steel bucket. This creates lower pressure inside the bucket compared to the pressure inside the animal’s udder. The difference in pressure helps draw milk gently from the cow or goat into the collection bucket.
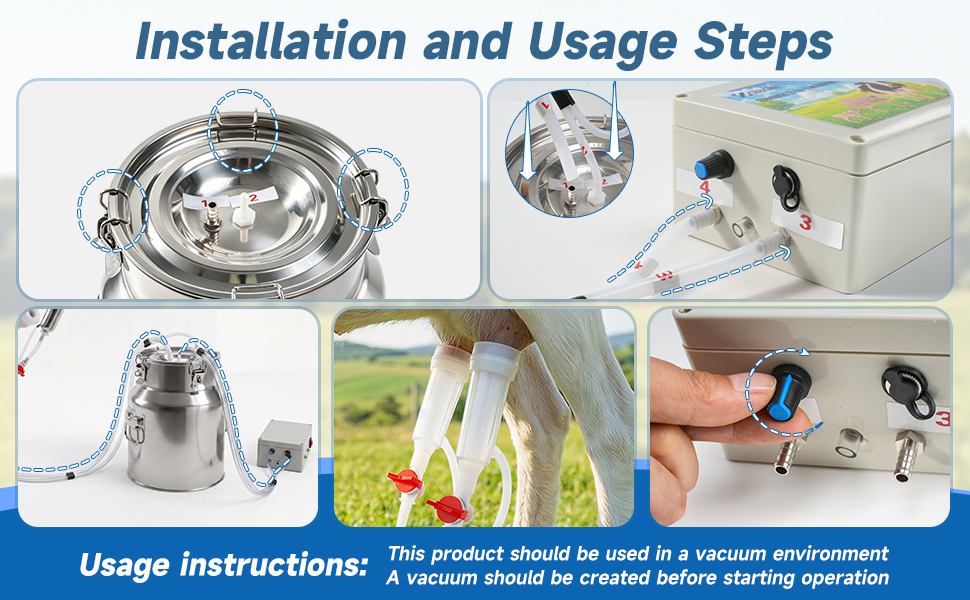
Setup & Use Instructions
1.Connect the tubing
Match the numbered tubing ends to their connectors (for example: 1–1, 2–2, 3–3, 4–4).
Once connected, close the stainless steel bucket lid and fasten all clamps so the bucket is fully sealed.
2. Charge before first use
Use the included charger to fully charge the electric vacuum pump.Plug the charger into the pump’s charging port.
Red light = charging, Green light = fully charged
3. Milking steps
Step A – Remove air from the bucket before use (important)
Close the red flow stopper behind the silicone cup cushion.(Tip: Stopper parallel to the tube = open; crossed with the tube = closed.)
Turn on the vacuum pump and set the speed to the highest level.
Let the pump run for about 2–3 minutes to pull air out of the bucket before attaching to the animal.(This step helps create vacuum inside the bucket and supports milk flow.)
Step B – Attach to the animal
Place the teat into the suction cup. Make sure the cup fits around the teat without air leaks.
Open the corresponding red flow stopper. The cup should stay in place by suction.
Repeat for the second cup on the other teat.
Step C – To help maintain milk flow
If needed, gentle massage on the udder may help milk flow more steadily, as clear milk passages can improve flow over time.
4. During and after milking
Once milk begins flowing steadily, you can lower the pump speed or turn it off temporarily to give the animal a short break.
When milk flow slows, turn the pump back on if needed.
This on/off approach may also help extend the life of the pump.
Troubleshooting
1.No suction
Check that the silicone ring inside the bucket lid is in place.Make sure all lid clamps are fastened.Confirm tubing is connected correctly.Check that each suction cup fits snugly around the teat without air leaks.
2.Suction works, but no milk comes out
Check if suction is too strong (try a lower speed).
If suction seems normal, review Section 3 (Milking steps) to confirm each step was followed correctly.

| SKU: | B0GS6ZJPY4 |
| Weight: | 9.03 pounds |
| Dimensions: | 11.12 x 10.55 x 13.6 inches |
| Model: | ZLl0425 |
| Manufacture: | zolaola |
Product description

How the Milker Works (Pressure Principle)
When the electric vacuum pump activates, it pulls air out of the stainless steel bucket. This creates lower pressure inside the bucket compared to the pressure inside the animal’s udder. The difference in pressure helps draw milk gently from the cow or goat into the collection bucket.
Setup & Use Instructions
1.Connect the tubing
Match the numbered tubing ends to their connectors (for example: 1–1, 2–2, 3–3, 4–4).
Once connected, close the stainless steel bucket lid and fasten all clamps so the bucket is fully sealed.
2. Charge before first use
Use the included charger to fully charge the electric vacuum pump.Plug the charger into the pump’s charging port.
Red light = charging, Green light = fully charged
3. Milking steps
Step A – Remove air from the bucket before use (important)
Close the red flow stopper behind the silicone cup cushion.(Tip: Stopper parallel to the tube = open; crossed with the tube = closed.)
Turn on the vacuum pump and set the speed to the highest level.
Let the pump run for about 2–3 minutes to pull air out of the bucket before attaching to the animal.(This step helps create vacuum inside the bucket and supports milk flow.)
Step B – Attach to the animal
Place the teat into the suction cup. Make sure the cup fits around the teat without air leaks.
Open the corresponding red flow stopper. The cup should stay in place by suction.
Repeat for the second cup on the other teat.
Step C – To help maintain milk flow
If needed, gentle massage on the udder may help milk flow more steadily, as clear milk passages can improve flow over time.
4. During and after milking
Once milk begins flowing steadily, you can lower the pump speed or turn it off temporarily to give the animal a short break.
When milk flow slows, turn the pump back on if needed.
This on/off approach may also help extend the life of the pump.
Troubleshooting
1.No suction
Check that the silicone ring inside the bucket lid is in place.Make sure all lid clamps are fastened.Confirm tubing is connected correctly.Check that each suction cup fits snugly around the teat without air leaks.
2.Suction works, but no milk comes out
Check if suction is too strong (try a lower speed).
If suction seems normal, review Section 3 (Milking steps) to confirm each step was followed correctly.