fanxiang S660 4TB PCIe 4.0 NVMe M.2 SSD Internal Solid State
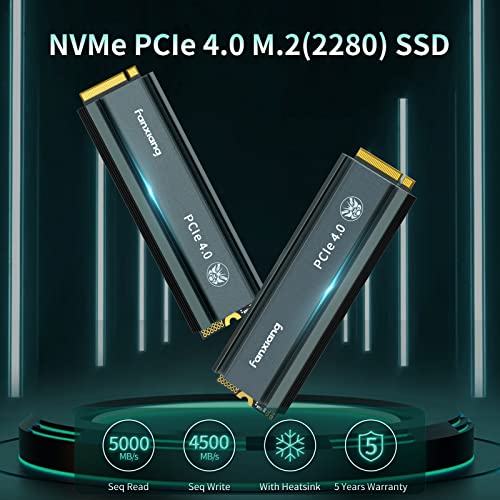
fanxiang S660 4TB PCIe 4.0 NVMe M.2 SSD Internal Solid State Drive – with Heatsink, Dynamic SLC Cache, Up to 5000MB/s, Compatible with PS5, Laptop, PC Desktop
- 【TOP-TIER PERFORMANCE】: The S660 M.2 SSD features PCIe 4.0 technology with up to 5000MB/s maximum read speeds and up to 4500MB/s maximum write speeds, ensuring lightning-fast file transfers and game load times
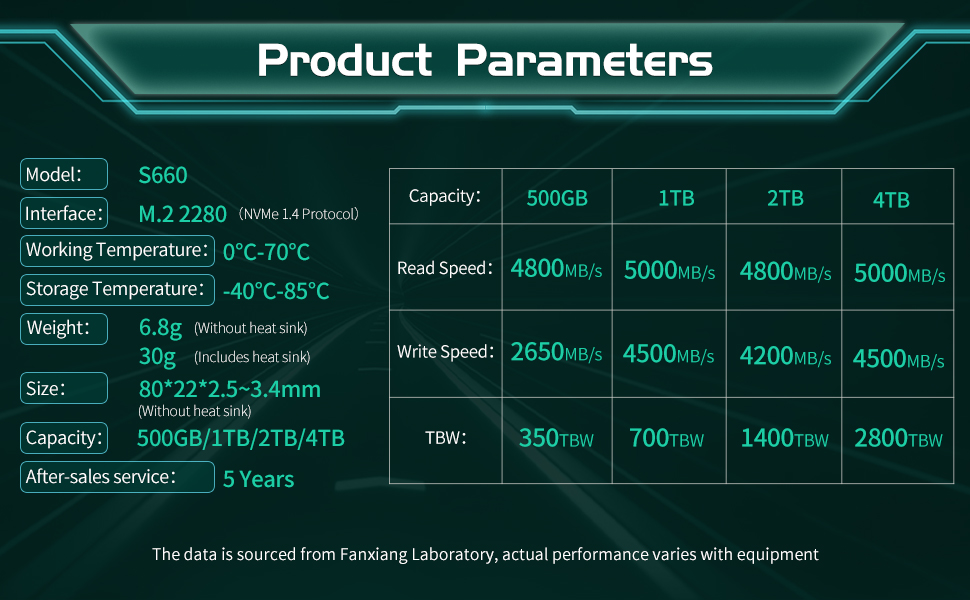
- 【STABLE AND RELIABLE】: Our NVMe SSD adopts high-quality flash memory chips and cutting-edge controller technology, and has undergone 88 hours of rigorous testing and 5 times of strict inspection to ensure long-term stability and reliability. Our 5-year warranty and 700TBW give you peace of mind
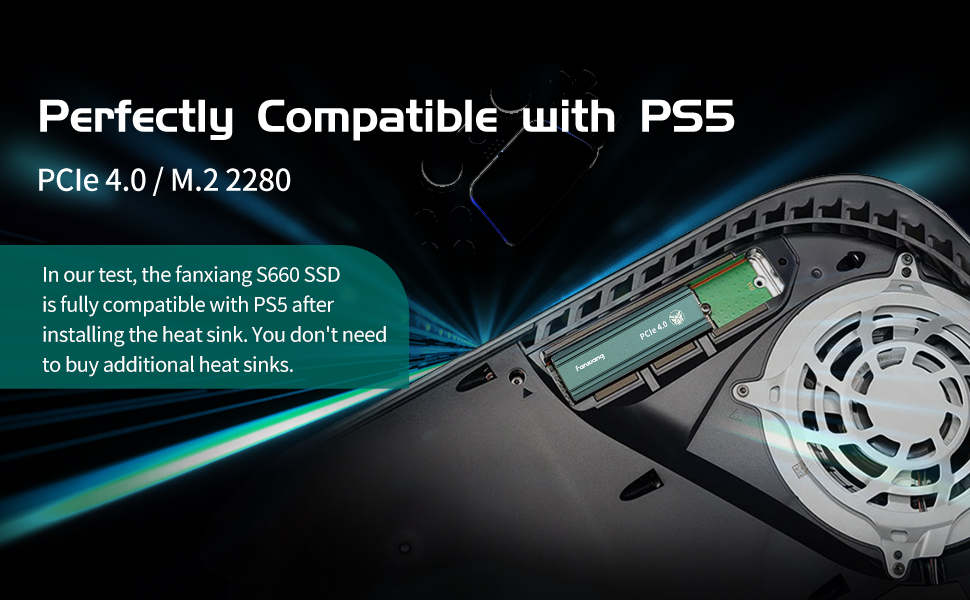
- 【PERFECTLY COMPATIBLE】: There is a heat sink (not installed) in the solid state drive box, which is perfectly compatible with PS5, effectively reducing the temperature of the hard drive, ensuring stable operation under high load, allowing you to play games more smoothly and enjoy a better gaming experience
- 【Flexible Capacity Options】: Our hard drive provides a range of storage options from 500GB to 4TB, satisfying various user needs and providing ample storage space for work, study, or entertainment
- 【Exceptional Customer Support】: With our own factory and packaging equipment, we can better control production costs and quality, while providing professional and efficient customer service to resolve any questions or concerns before and after purchase, ensuring complete customer satisfaction







| SKU: | B0C6DMCJNF |
| Weight: | 80 g |
| Dimensions: | 0.79 x 0.23 x 0.03 cm; 80 Grams |
| Brand: | Fanxiang |
| Colour: | Gray |
| Manufacture: | fanxiang |
| Colour: | Gray |
Product Description


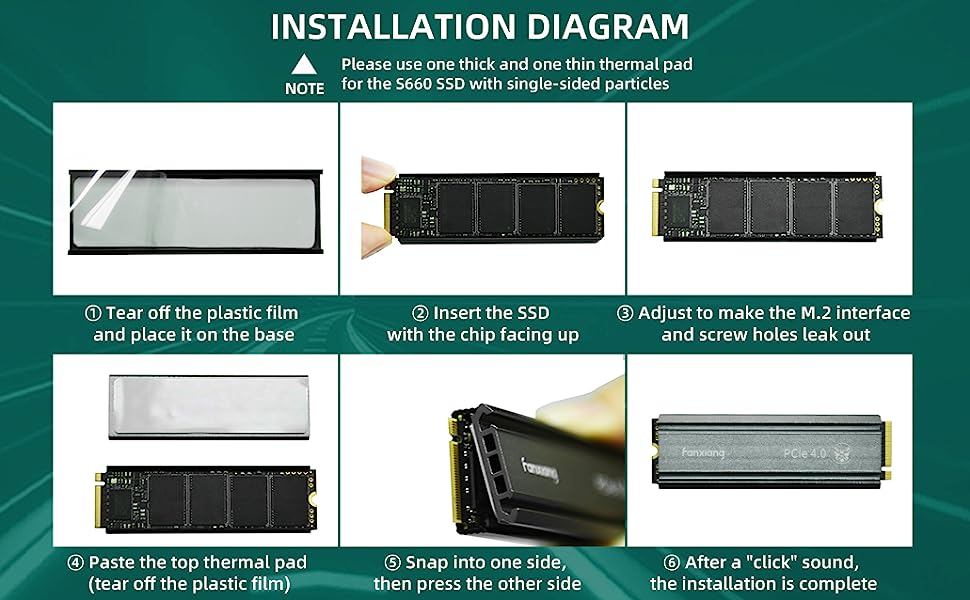
How to install fanxiang S660 SSD?
Firstly, please choose 1 thick and 1 thin from the 4 thermal pads that come with the product.
1. Tear off the plastic film on one of the thermal pads, and place it on the heat sink base;
2. Place the SSD on the thermal pad (note that the chip needs to be placed upwards);
3. Adjust the SSD to a proper position so that the screw holes and the M.2 interface leak out;
4. Tear off the plastic film of the other thermal pad, and stick it on the bottom of the heat sink;
5. Insert one side of the heat sink into the slot of the base. After adjusting the position, press the other side of the heat sink firmly, and when you hear a “click”, it means that the heat sink is installed in place;
6. Fix the SSD with the heat sink installed with screws or the buckles that come with the motherboard.